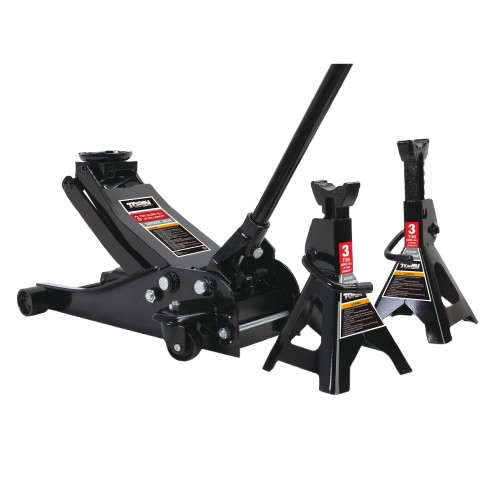
Engine Oil
Maintenance
An oil change consists of two related processes: the draining and replacement of old oil, and the replacement of the oil filter.
To complete an oil change job, following these steps in order:

CAUTION
Performing your own car maintenance comes with risks and can be dangerous if not done properly. Using incorrect tools or techniques can cause serious damage to your vehicle or lead to injury. While our guides are easy to understand, they do not provide vehicle-specific instructions. Do not attempt to do maintenance work on your car if unsure how to do it.

NOTICE
The following information applies to an oil change:
NEVER dispose of old engine oil by dumping it outside or down a drain. Engine oil is considered hazardous waste. Dipose of oil by taking it to an auto mechanic, auto parts store or chemical recycler near you. This applies to old oil filters as well - do not throw them out.
NEVER change your oil when the engine is hot. Engine oil can reach temperatures around 200F. Always allow engine to cool completely before removing or adding oil.
Skip to Procedure
STEP 0
Gather the necessary supplies and tools for this job
REQUIRED
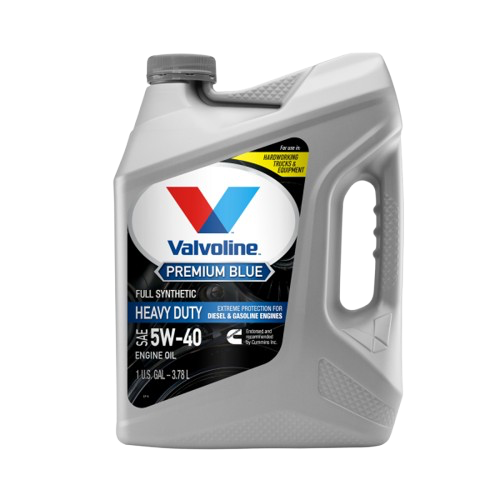
NEW Engine Oil
Must be an oil with a viscosity rating compatible with your engine
Find out how to choose the correct oil type for your engine
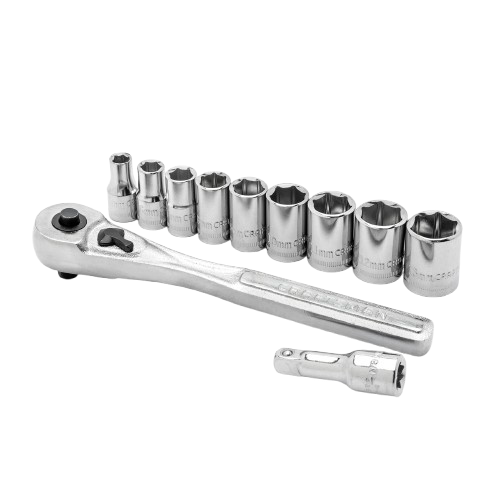
Socket wrench
Same size as the oil drain bolt
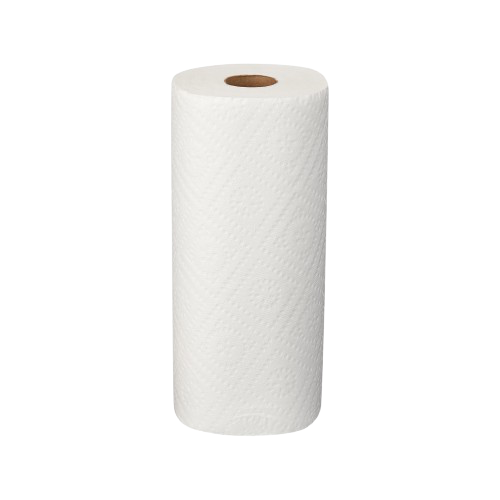
Paper Towels and/or Shop Rags
Important to have on hand to quickly clean up spills
RECOMMENDED (optional)
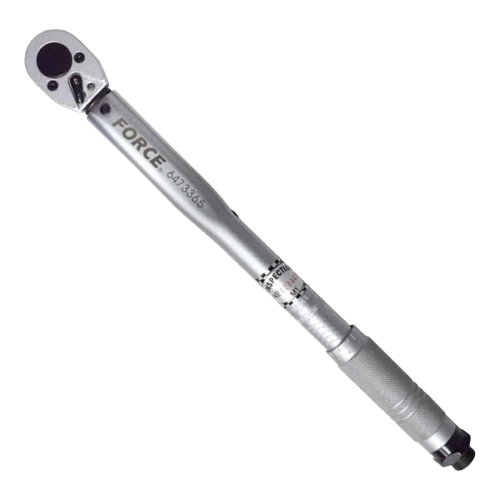
Torque Wrench
Prevents overtightening of the drain bolt and filter

Gloves (nitrile material)
Protects your skin from oil
STEP 1
Drain the old oil
Locate the oil drain plug. This will be a bolt located on the bottom of the oil sump. The exact location and size of this bolt varies per vehicle. Below is an example of what the drain bolt looks like on the bottom of the sump.

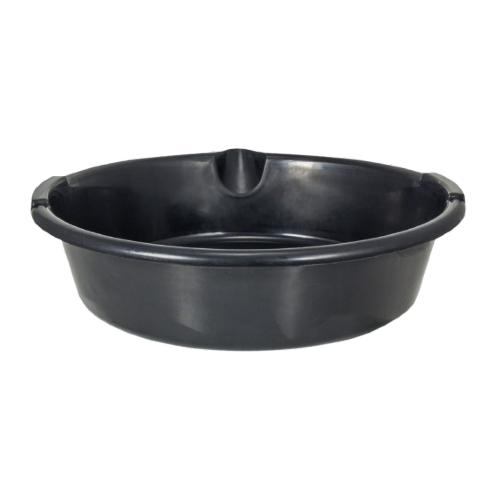
After placing your oil pan underneath the plug, loosen the bolt with your wrench.
Once the plug is loose, unscrew it the rest of the way with your fingers. The oil will begin to pour out when the bolt is removed, so do this quickly.
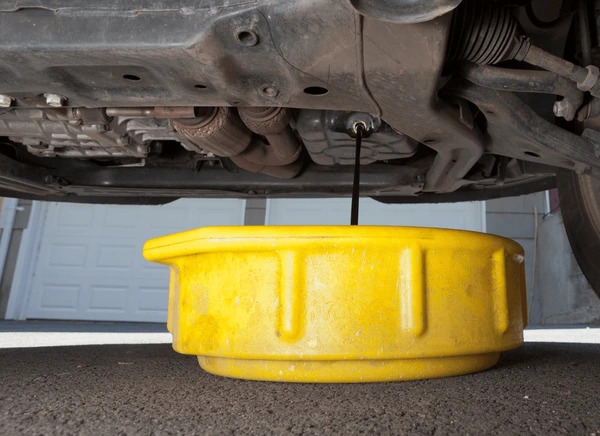
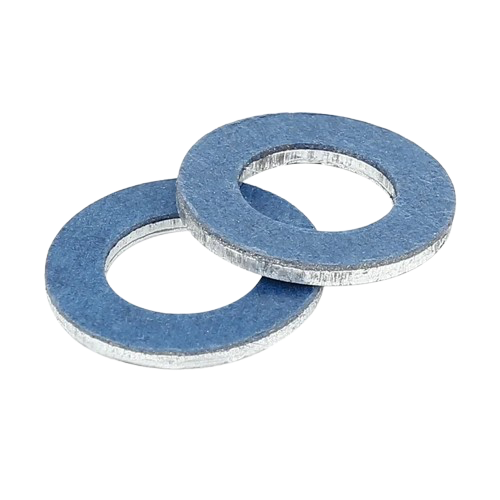
After the oil stops draining, check the bolt and the hole for the old plug gasket. This rubber seal can sometimes get stuck around the drain hole on the sump. If it's stuck on, simply pry it off with a screwdriver or pull with your fingers. If it came off on the bolt, remove it. Discard the old gasket.
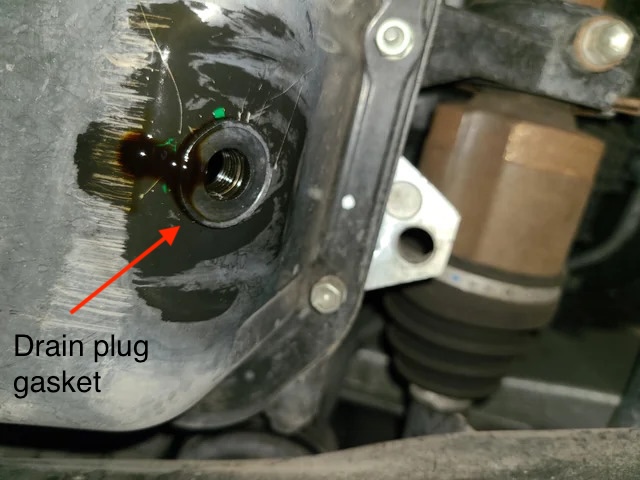
Install the new drain plug gasket on the drain bolt.
Clean off any gunk or residue from around the drain hole. Screw the drain plug back in. Use your socket wrench or a torque wrench to tighten. If using a torque wrench to avoid overtightening, check your vehicle's torque rating for the drain bolt. (Most oil plugs are torqued between 20-30 ft/lbs (27-41 Nm).
STEP 2
Remove the old oil filter
Locate your oil filter. On most engines, it will be located underneath the car near the oil sump, but location varies per vehicle. If you are unsure of its location on your car, look it up online.

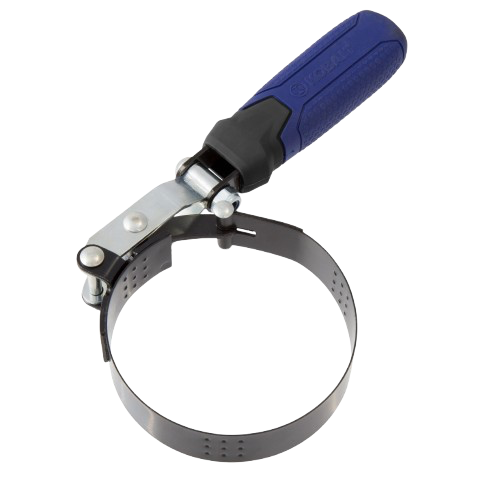
After placing your oil pan underneath the filter, slowly begin to unscrew it counter-clockwise. Once loose, oil in the pump and filter will pour down, so expect to get oil on your hands. Nitrile gloves are recommended for this step to protect skin.
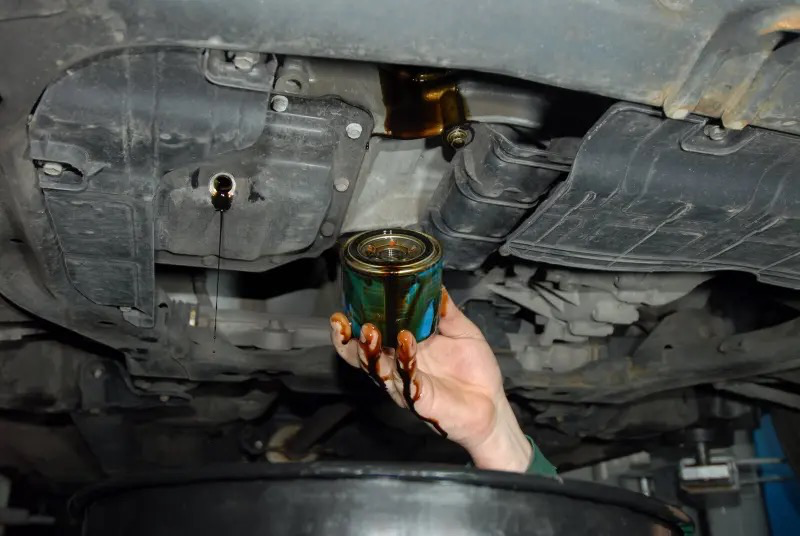
Once the filter is fully unscrewed, dump the remaining oil from the filter into the pan.
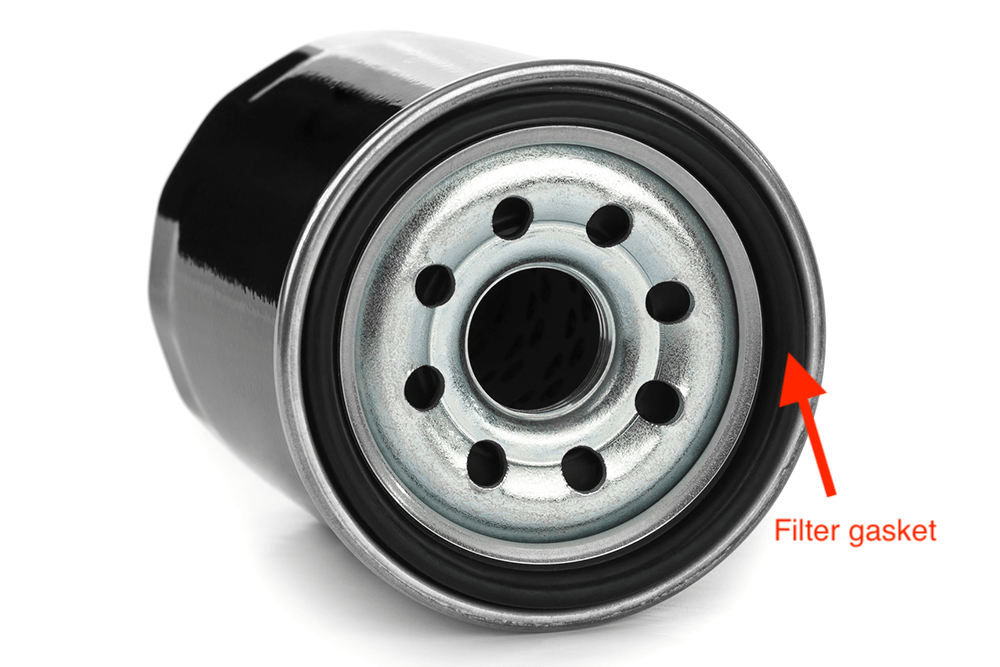
IMPORTANT: Check to make sure the oil filter gasket is not stuck on. DO NOT put on your new oil filter on top of the old gasket! Usually the gasket will still be attached to the filter, but if it is stuck, take a screwdriver or finger and remove it.
Clean off the area that contacts the filter.
STEP 3
Install the new oil filter
Before installing the oil filter, it is highly recommended that you lubricate the new filter gasket as well as pre-fill the filter if you are able to.
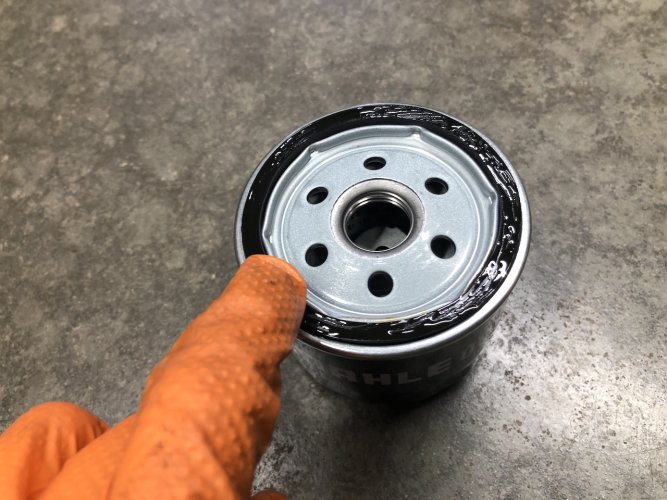
To lubricate the filter gasket: pour a small amount of new oil on the gasket, then using your finger, rub the oil around the ring.
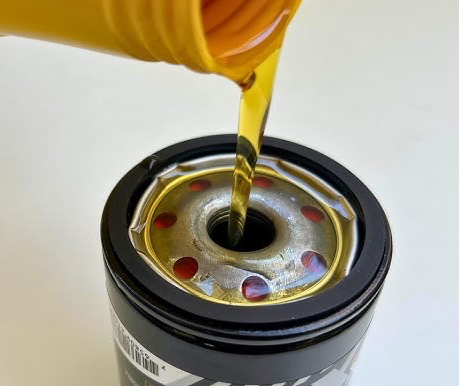
It is a good idea to pre-fill the oil filter to maintain oil pressure during the first engine startup, but you should only do this if your filter attaches with the holes facing up. If your oil filter is installed sideways or upside-down, it is ok to skip the pre-fill, as this will make a mess. Fill to the top.
Screw in the new oil filter. Keep the oil pan beneath just in case of spills. Once the gasket makes contact with its connection point, hand-tighten the filter.
STEP 4
Add new engine oil
DOUBLE CHECK that you reinstalled the oil drain plug before adding new oil in this step!
Recall your engine's oil capacity in your owner's manual. You should have bought enough new oil to cover this amount.
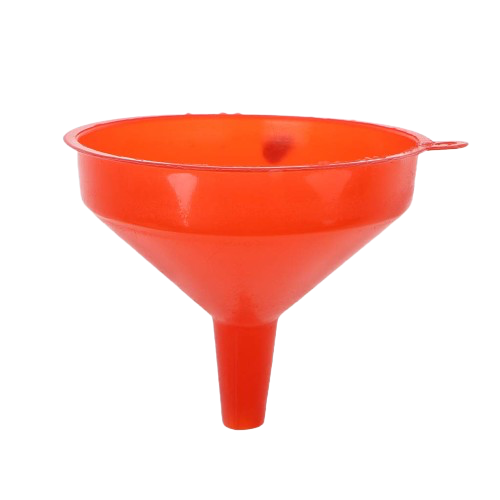
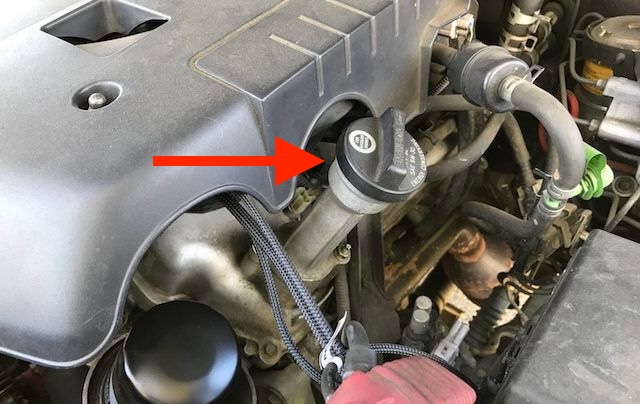
Locate the oil cap (typically located on/near top of engine, look for the oil symbol or the word "oil" on cap). Unscrew and add oil up to capacity.
Check the drain plug and oil filter to make sure oil is not leaking as you fill. If there is a leak, stop pouring and catch the oil in the drain pan. Confirm that the plug/filter is properly tightened.
After putting in the correct amount of oil, use the oil dipstip (if available) or infotainment oil level info (if available) to confirm that the oil level is correct. If the level is less than capacity, add more oil and check again. If the level is greater, slowly unscrew the drain plug to drain small amounts of oil at a time, then check again.


